ENTRY
18
October 26, 2026
Teardown, New Shooter Design & TPU Intake Fingers
Meeting Summary
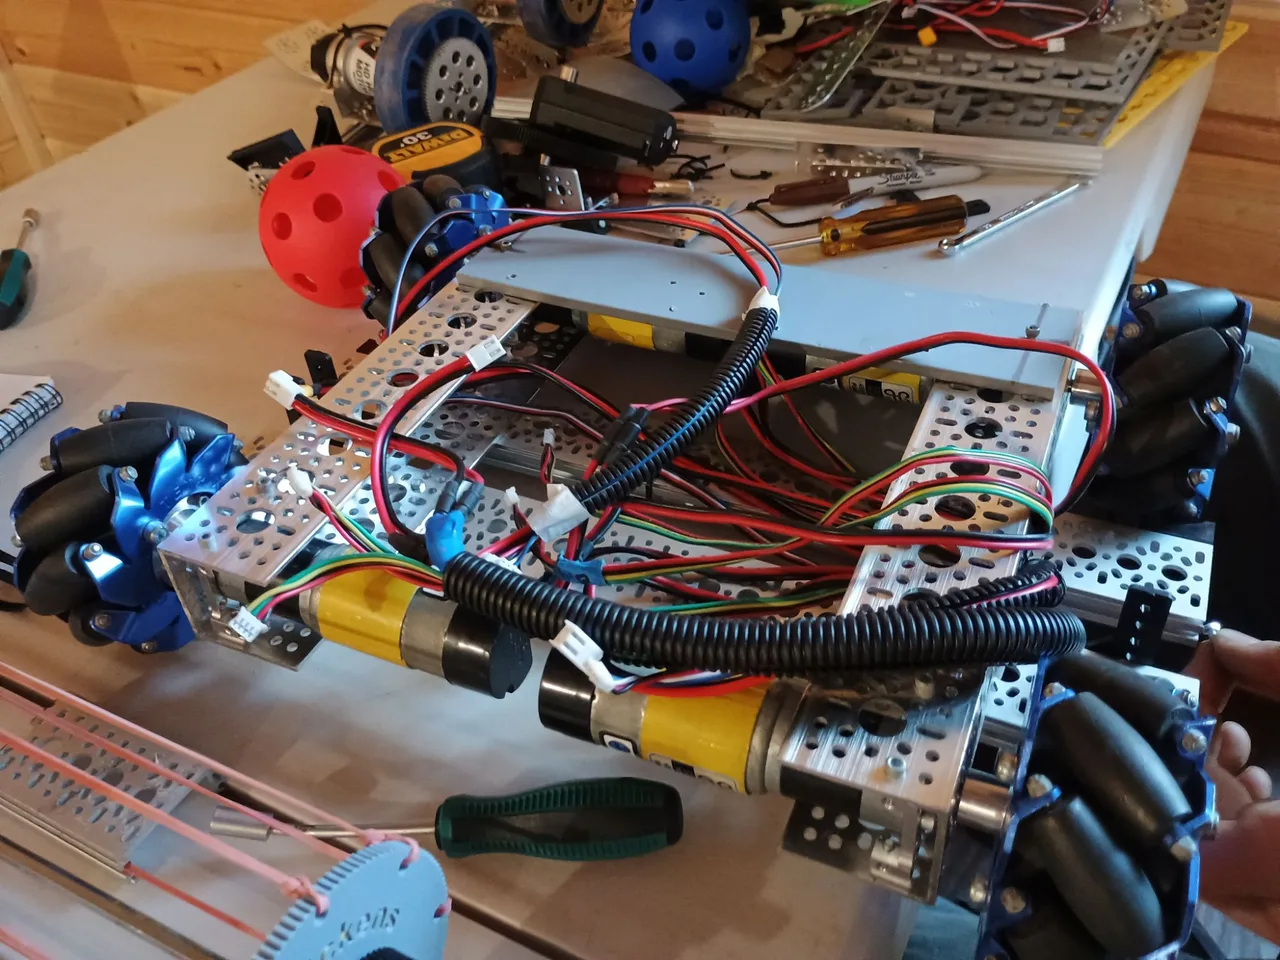
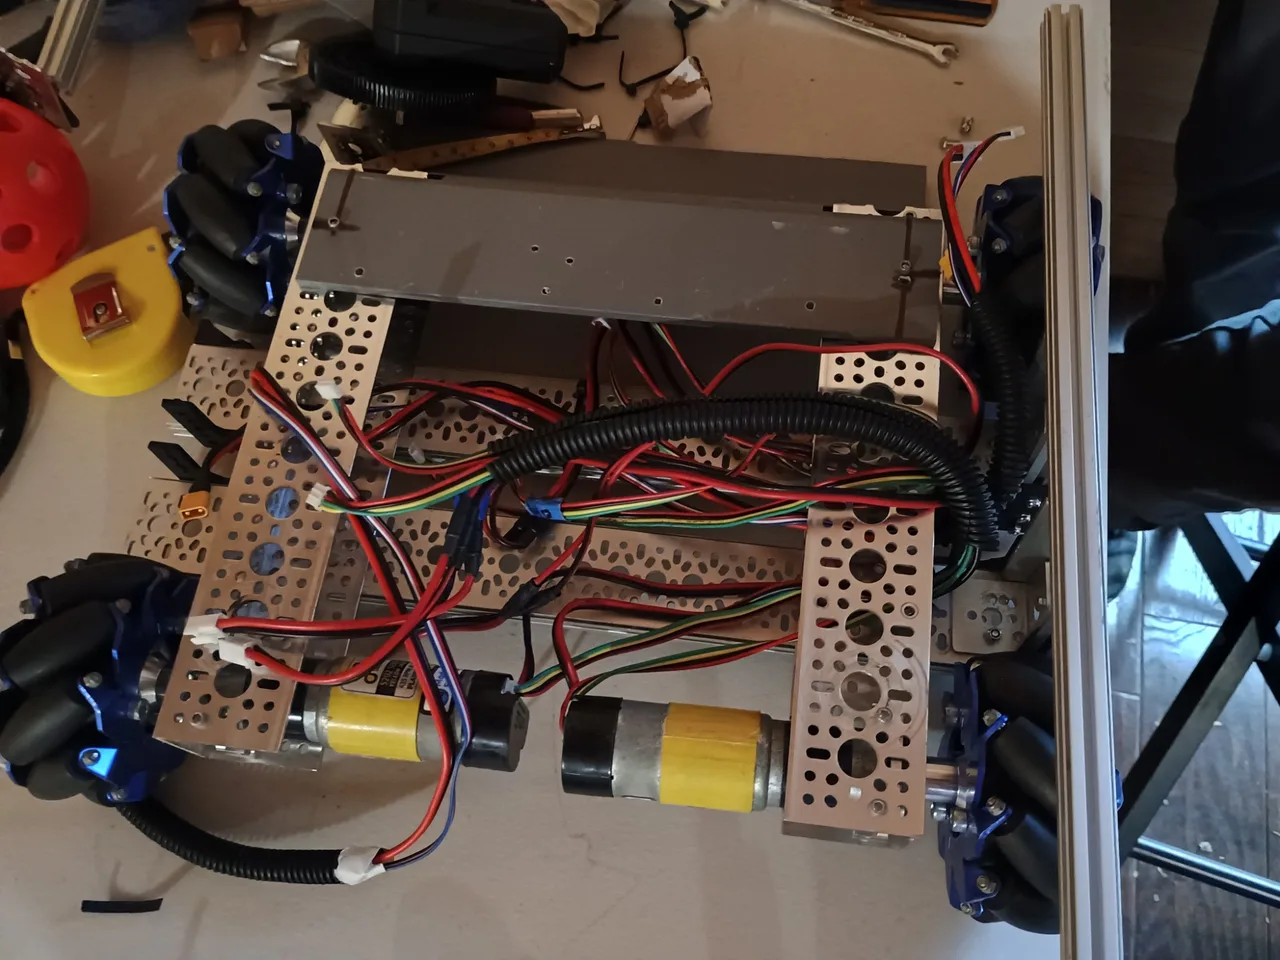
Following our plan from the scrimmage, we tore the robot down to start the rebuild, with the goal of 3D printing most of the new parts. We debriefed the scrimmage and charted our course of action. Josh worked on the CAD design for a new lower shooter, Torin took the robot apart and built a new inside frame, and Sarah designed new intake fingers that we'll print in TPU.
Teardown & New Frame
- Torin led the disassembly of the robot
- Torin also started building a new inside frame to support the walls and the intake
- Because the new shooter sits much lower, the walls will be a lot shorter than our old full-height walls, so the robot will be much shorter overall
New Shooter Design
- The catapult arm that pushed balls up to the shooter kept jamming, so we're moving the shooter down so the balls go directly into it
- The shooter will point flat, straight backward, with a ramp that curves the balls upward
- The shooter will be a tube that fits both sizes of balls. A V-shaped groove at the bottom of the tube will hold the balls in a fixed position.
- Josh is designing the shooter ramp and the intake ramp in CAD as two pieces that fit together
- Future idea: make the top of the tube rotate. In one position it would line up with a fixed, curved U-shaped tube that could reach over the flowers and shoot into them. We'll save this for later, once everything else is working well.
Intake Fingers: TPU
- At the scrimmage, another robot ripped the rubber bands off our intake, so we decided to switch to silicone-style fingers
- Sarah researched silicone fingers and found that buying them would be pretty expensive. She also looked into 3D printing our own molds.
- Then we learned we can print flexible fingers directly in TPU, so we're going with that, and we ordered TPU
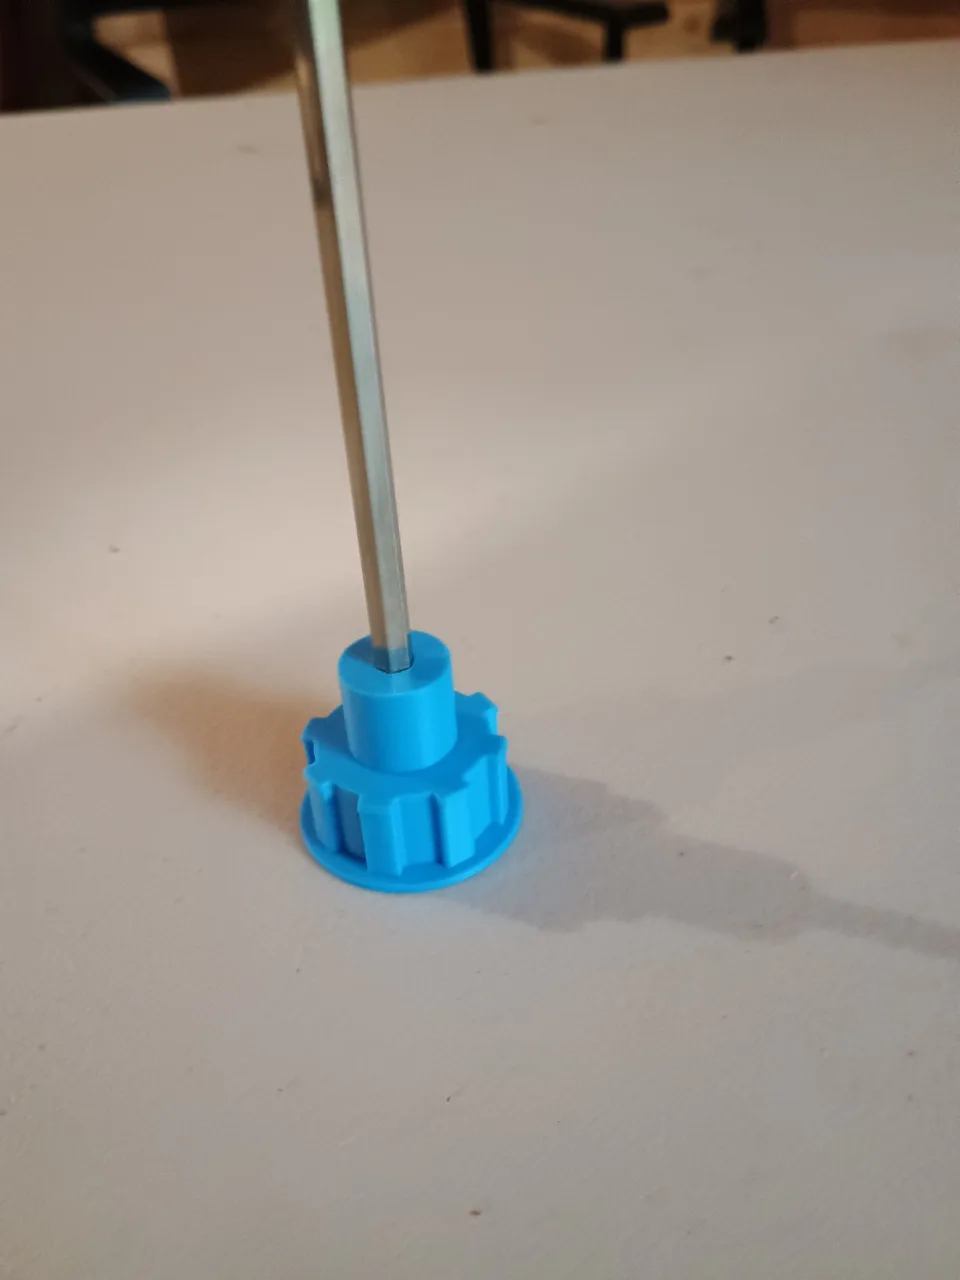
- Sarah designed the fingers with the assistance of Claude: a PLA hub slides onto the hex shaft, and the TPU fingers attach to the hub
Ideas for Later
- LED lights on top of the robot to show which colors of balls we have and how many
- Color sensor: sense which balls we intake, so the robot only keeps our alliance's nectar and pollen and the intake rejects the other alliance's balls. Knowing what order the balls are in would also let us shoot just the one nectar we need to tip the hive and save the rest for the other side, so we don't waste balls. We'll focus on shooting first and add the sensor later.
- Red/blue switch: a physical switch to set our alliance color, so we don't have to change the code
Giving ACNOZAD Some Personality
- We want big, goofy stick-on googly eyes for the robot, about 5 inches, the kind that shake.
- We might add a chicken beak and wattle. The intake could be the mouth, with a little beak above it.
Homework / Action Items
- Josh: keep designing the shooter ramp and intake ramp (two pieces that fit together), using Claude for help with any parts he's unsure how to design, and send the files to Sarah to print (hopefully by the end of tomorrow); print the hubs; go to Video Games Plus
- Sarah: print Josh's ramp design as soon as it's ready; print the TPU fingers once the TPU arrives (probably after our next meeting); write up the entries for the meeting before the scrimmage, the scrimmage, and this meeting, and upload them to the website
- Torin: make a pre-match checklist, possibly with the help of AI, and add a few things to the packing for game day checklist
- Coach: get big, goofy googly eyes for the robot (about 5 inches)
This notebook was created with the assistance of Claude AI and Handy dictation software.